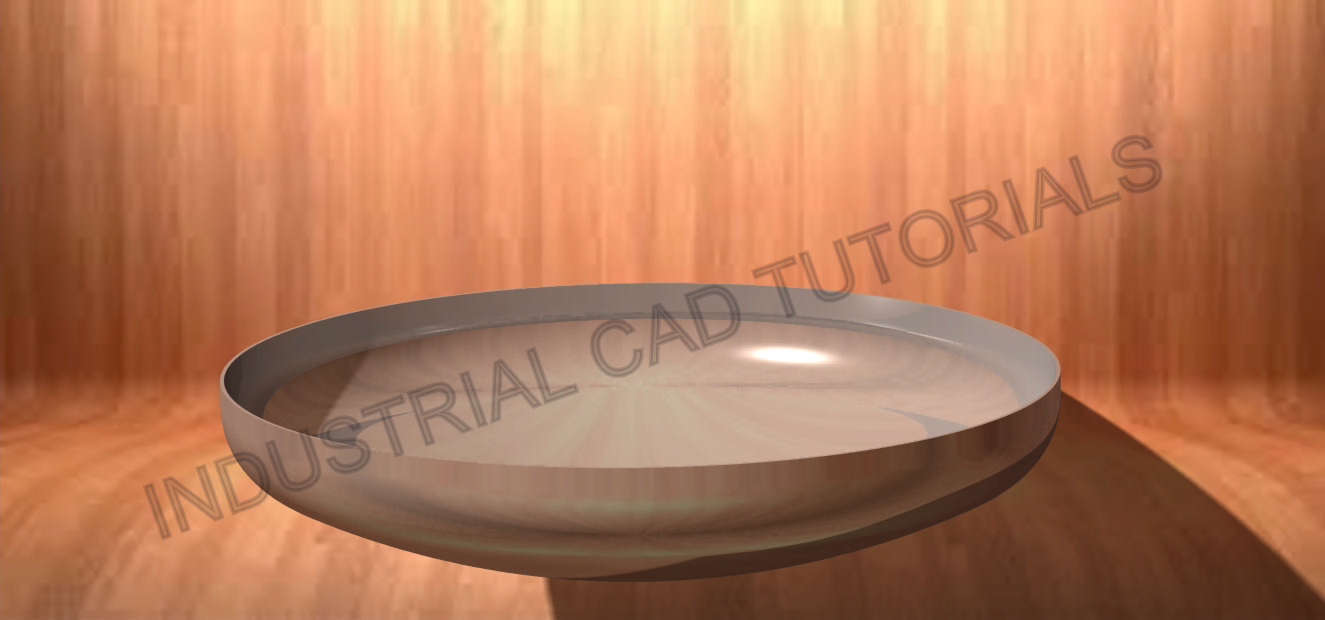
Developing a 10% torispherical dish in AutoCAD and CATIA involves creating a 3D representation of a vessel head or dish with a specific shape. The 10% torispherical dish is commonly used in pressure vessels, storage tanks, and other industrial applications due to its favorable stress distribution characteristics. The term “10%” refers to the dish’s knuckle radius, which is 10% of the dish’s diameter. AutoCAD and CATIA are powerful computer-aided design (CAD) software tools that can be used to create and model this shape.
Below are general steps for developing a 10% torispherical dish in both AutoCAD and CATIA:
1. Define Dish Parameters:
- Determine the dimensions of the 10% torispherical dish, such as the diameter, crown radius, knuckle radius, and height.
2. AutoCAD:
- Start by creating a new drawing in AutoCAD.
- Use the 3D modeling tools available in AutoCAD to design the 10% torispherical dish.
- Draw a quarter-circle on the XY plane, representing the dish’s knuckle.
- Use the “FILLET” command to create the torus or crown section by filleting the sharp corner of the quarter-circle with a specified radius (crown radius).
- Extrude the filleted quarter-circle along the Z-axis to create the torispherical dish using the “EXTRUDE” command.
- Adjust the dish’s height and add any required features like flanges using appropriate commands.
- Provide accurate dimensions and annotations to convey critical information about the 10% torispherical dish.
2. CATIA:
- Open CATIA and start a new Part Design or Generative Shape Design workbench, depending on the complexity of the design.
- Use sketches and 3D modeling tools to create the 10% torispherical dish’s shape.
- Draw a quarter-circle on the XY plane, representing the dish’s knuckle.
- Use the “FILLET” tool to create the torus or crown section by filleting the sharp corner of the quarter-circle with a specified radius (crown radius).
- Use the “REVOLUTION” tool and specify the axis of revolution as the Z-axis to revolve the quarter-circle and create the torispherical dish.
- Utilize CATIA’s advanced surface modeling capabilities to create smooth and continuous surfaces.
- Add any additional features or attachments required for the dish, such as flanges or mounting points.
- Provide accurate dimensions and annotations to communicate vital details about the 10% torispherical dish.
3. Detailed Design (Optional):
- Add reinforcement ribs, stiffeners, or other structural elements if needed.
- Consider adding details like welds, grooves, or surface finishes to enhance the dish’s realism.
4. Analysis and Validation:
- Perform structural analysis or simulations to assess the dish’s strength and stability.
- Review and validate the model for any design flaws or potential issues.
5. Documentation and Collaboration:
- Create detailed engineering drawings and documentation for manufacturing and assembly.
- Share the design files with relevant stakeholders for feedback and collaboration.
Developing a 10% torispherical dish requires precision in defining the crown radius and knuckle radius to achieve the desired shape. Engineers with expertise in 3D modeling and relevant design standards should be involved in the process. Both AutoCAD and CATIA provide the necessary tools to create accurate and detailed 10% torispherical dish models, with CATIA being preferred for more complex designs due to its advanced surface modeling capabilities.
